How to Build Your Own Custom Gaming PC
Building your own custom gaming PC is an exciting and rewarding experience. Learn the essential steps and tips to get started on your journey.
Choosing Your Components
Building a custom gaming PC starts with selecting the right components. The most crucial parts include the CPU, GPU, RAM, motherboard, storage, power supply unit (PSU), and the case. Begin by considering what games you plan to play and at what settings. For high-end gaming, a powerful CPU and GPU are essential. AMD and Intel offer competitive CPUs, while NVIDIA and AMD provide robust GPUs. For memory, 16GB of RAM is typically sufficient for gaming, though 32GB can future-proof your setup. Ensure your motherboard is compatible with your CPU and has enough slots for your RAM and other peripherals. Lastly, choose a case that fits all your components and has good airflow to keep your system cool.
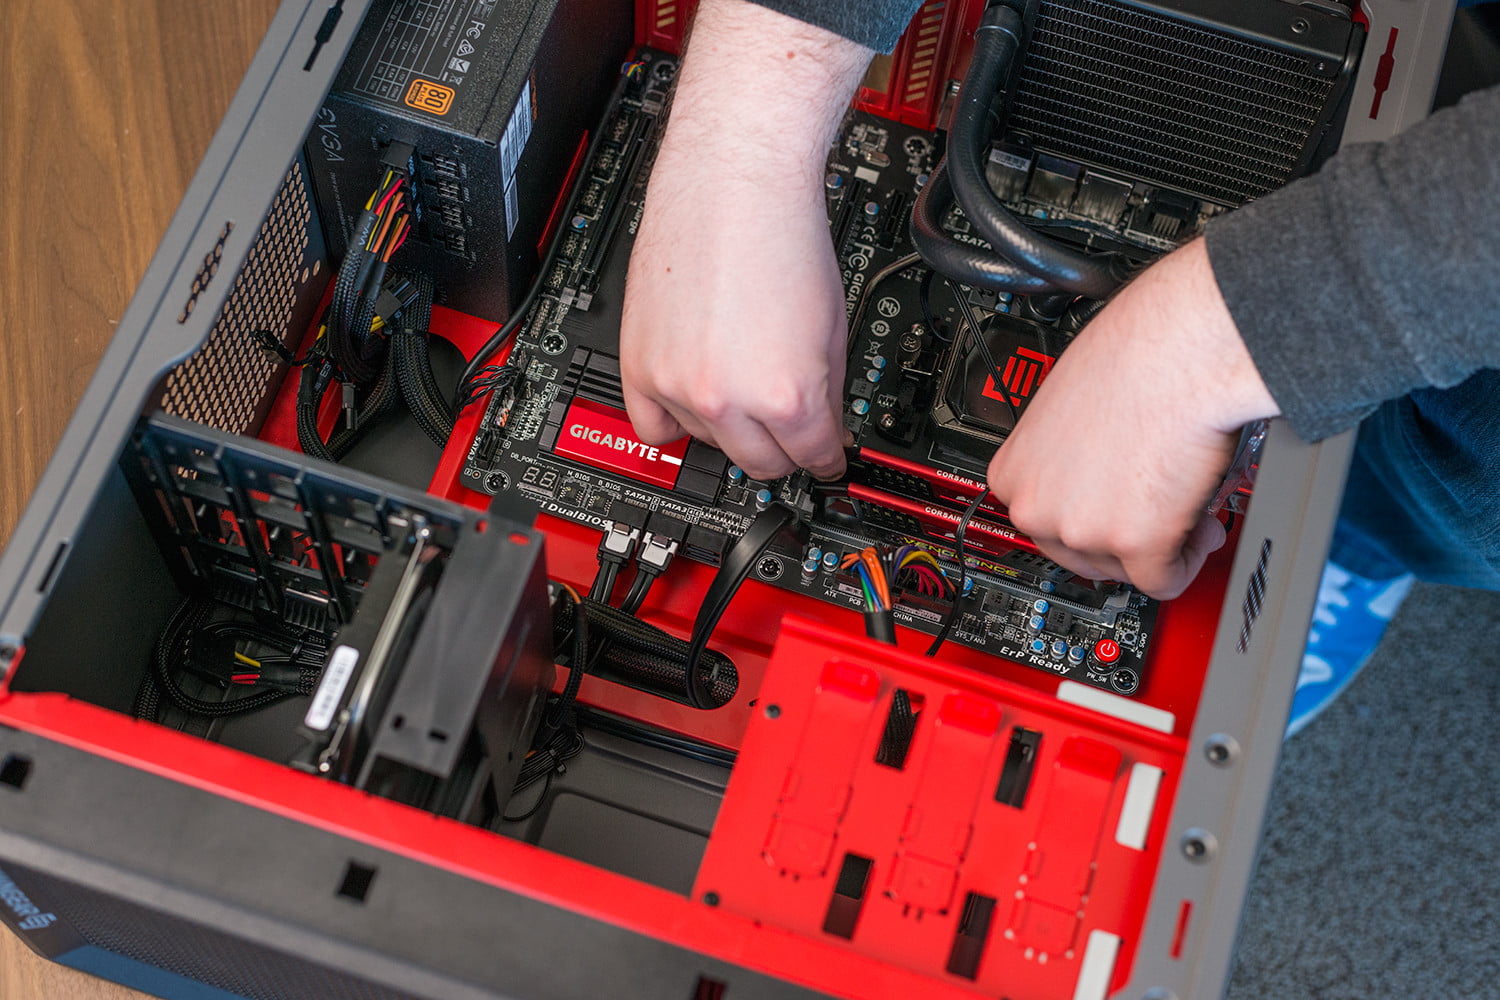
Assembling the Hardware
Once you have all your components, the next step is to assemble them. Start by preparing your case, removing any pre-installed components or panels. Install the power supply unit first, securing it with screws. Next, insert the motherboard and ensure it aligns with the case's mounting points. Attach the CPU to the motherboard, followed by the RAM sticks and the CPU cooler. Then, install your storage devices (SSD or HDD) and connect them to the motherboard. The GPU is usually the last major component to install; ensure it clicks into the PCIe slot firmly. Finally, connect all necessary power cables from the PSU to the motherboard, GPU, and storage devices.
Installing the Operating System
With your hardware in place, it's time to install the operating system (OS). Most gamers prefer Windows due to its compatibility with a wide range of games. You can purchase a copy or download it from the official website and create a bootable USB drive. Insert the USB drive into your PC and power it on. Enter the BIOS by pressing the designated key (usually F2 or Delete) and set the USB drive as the primary boot device. Save and exit the BIOS to start the Windows installation process. Follow the on-screen instructions to partition your storage drive and install the OS. Once completed, you can begin installing drivers and essential software.
Installing Drivers and Software
After installing the OS, the next crucial step is to install drivers and essential software. Drivers are necessary for your hardware to communicate effectively with the operating system. Start with the motherboard drivers, which include chipset, audio, and LAN drivers. Next, install the GPU drivers from the manufacturer's website. Additionally, ensure your storage drivers are up to date. Once the drivers are installed, consider installing software like antivirus programs, game launchers (Steam, Epic Games), and any other utilities that enhance your gaming experience. Regularly updating drivers and software ensures optimal performance and security for your gaming PC.
Overclocking and Tweaking Settings
For those looking to get the most out of their custom gaming PC, overclocking can provide a performance boost. Overclocking involves increasing the clock speed of your CPU and GPU beyond their factory settings. Begin by researching your specific components' overclocking capabilities. Use software tools like BIOS settings for CPU overclocking and manufacturer-provided utilities for GPU overclocking. Gradually increase the clock speeds while monitoring temperatures and stability. Additionally, tweak in-game settings to balance performance and visual quality. Lowering settings like shadows, anti-aliasing, and texture quality can significantly improve frame rates without compromising too much on visual fidelity.
Maintaining Your Gaming PC
Proper maintenance is essential to ensure your gaming PC runs smoothly over time. Regularly clean the interior of your PC to prevent dust buildup, which can cause overheating. Use compressed air to blow out dust from fans, heatsinks, and other components. Keep your software up to date by regularly checking for driver updates and OS patches. Monitor your PC's temperatures using software tools and ensure your cooling solutions are working effectively. Consider applying new thermal paste to your CPU every couple of years to maintain optimal thermal performance. Additionally, periodically check and manage your storage by deleting unnecessary files and defragmenting HDDs.
Troubleshooting Common Issues
Even with careful assembly and maintenance, you may encounter common issues with your custom gaming PC. If your PC fails to boot, check all power connections and ensure components are seated correctly. For performance issues, verify that all drivers are up to date and scan for malware. If you experience thermal throttling, ensure your cooling system is adequate and functioning properly. For software-related problems, consider rolling back recent updates or performing a system restore. Engaging with online forums and communities can also provide valuable troubleshooting tips and solutions from fellow gamers and tech enthusiasts.